

So you’ve mastered the art of candle burning as outlined in Candle Care 101: How To Burn Your Candle Properly. Now, let’s get into more advanced candle care and learn how to use the candle tools in our Candle Care Kit.

The Wick Trimmer

If you’ve read our Candle Care 101, you’ll know that trimming your wick is the first crucial step in candle care. You want to trim your wick to about ¼” in length before your first burn and then after each subsequent burn. Trimming the wick helps prevent “mushrooming” which is that little black bulb that forms after burning. The mushroom can cause your wick to smoke, soot and flare. All of these things can lead to uneven burning, unsafe sparking and dirty looking candles.
Sometimes, your wick can break after burning and that little mushroom takes part of the wick off with it. In this case, you don’t want to trim your wick. As important as it is to keep wicks short, it’s even more important to make sure your wick is long enough to light. The ¼” rule will help you decide whether or not to snip that wick.
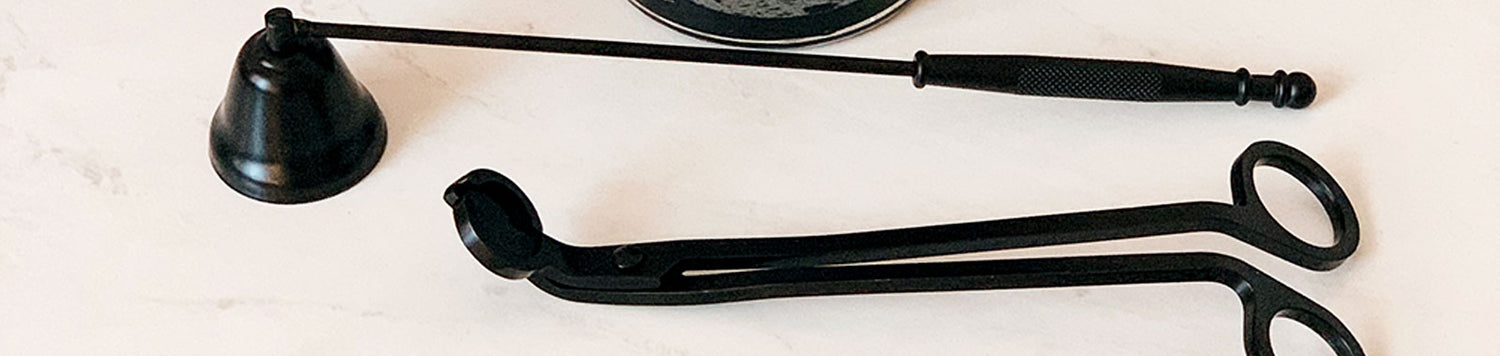
The Candle Snuffer

Have you ever blown out a candle only to have wax splash all over the place? Or, have you blown out your candle and it filled the room with smoke? Well do we have something for you – a candle snuffer! Candle snuffers have been used for centuries to quickly and cleanly extinguish candle flames.
To use the snuffer, you simply place the bell over the flame and wait until the flame goes out. Be careful not to submerge the bell into the wax. It needs to hover slightly over the surface of the wax and eventually you may see a small wisp of smoke emerge from the bell, signifying that the flame is out. Be careful not to touch the bell afterwards, as it may be hot.
The Wick Dipper

The wick dipper is a great multi purpose candle care tool. You can use it for extinguishing a flame, moving a shifted wick and removing debris from the wax pool.
To extinguish the flame, simply use the dipper to bend the wick at an angle until it’s fully submerged in the liquid wax. This will kill the flame without producing any smoke. Be sure to pull the wick out of the wax and straighten it immediately so that it doesn’t get lost or shifted out of center. Putting out the wick in its own wax actually conditions the wick, which can make it easier to light and burn cleaner during subsequent burns.
Sometimes a bit of the burnt wick or a piece of a match can fall into the wax pool. Once you extinguish your candle, use the wick dipper to carefully remove any debris.
If you’ve burned your candle on an uneven surface or if it has burned for longer than the recommended 4 hours, your wick can sometimes shift out of center. To fix this, extinguish the flame and then carefully push the wick at its exposed base with the dipper.

You have now completed our 201 candle class. You are well on your way to becoming a full fledged candle doctor. As always, if you have any burning candle questions, feel free to drop us a message!

