
Dewy skin can be elusive. Maybe your skin is so dry it’s drinking all the “dew” or your naturally oily skin is more oil slick than dewy kiss or, if you’re like me, you have a combination of both, making things even more interesting. Ultimately we all want our skin looking young and fresh, so with a combination of good skin care and simple makeup applications, this can be achievable.
I’ve found what I consider to be the “holy grail” of basic skin care. However, everyone’s skin needs are unique and require different types of products and care. Please feel free to substitute in your favorite skincare and makeup pieces as you see fit. These products are certainly not a one size fits all, however, the way we apply these products can work for lots of different skin types!
The Skincare
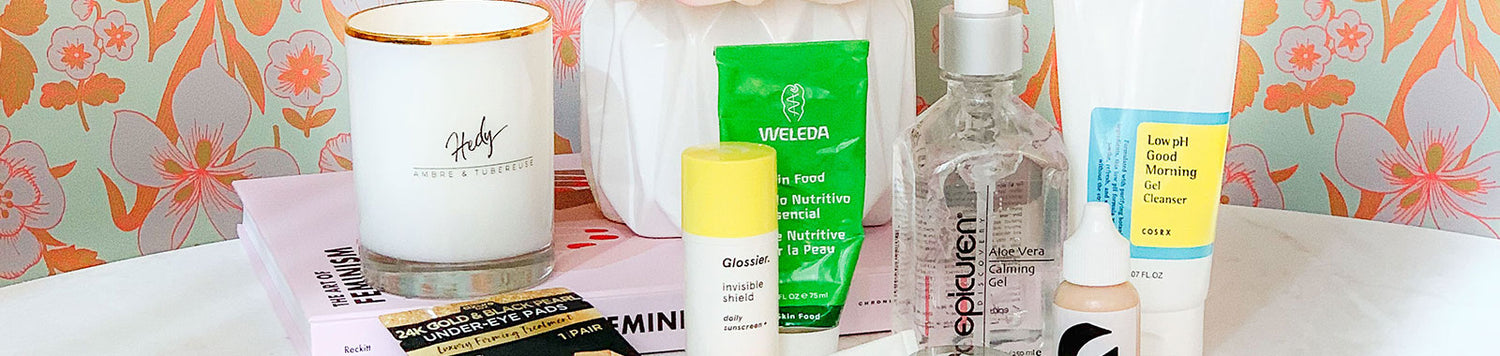
- Mild Cleanser: I love this one from Cosrx, it’s gentle and hydrating. I prefer this cleanser in the AM when you’re not removing makeup.
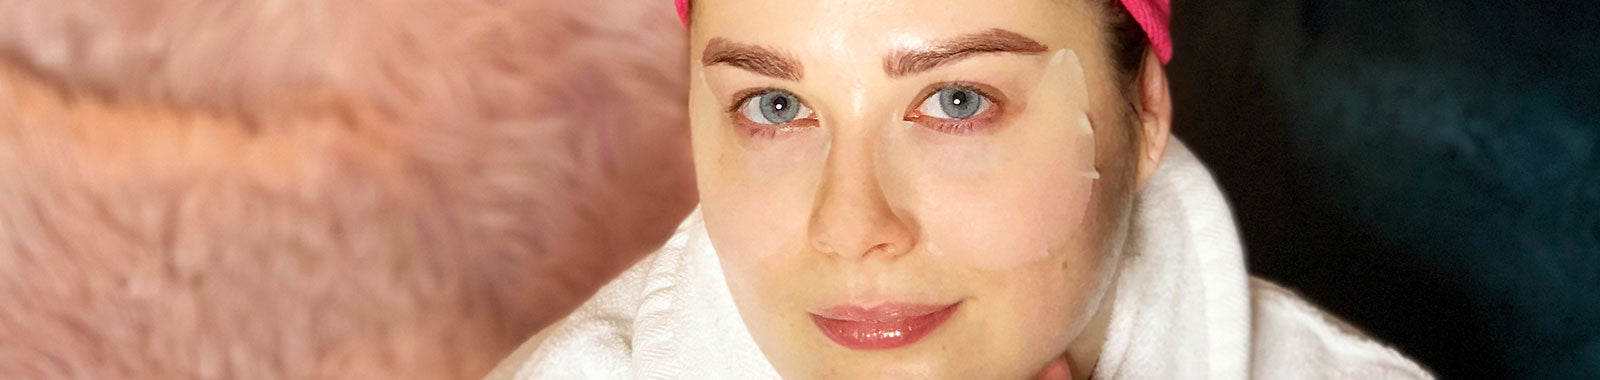
- Eye Mask: I love these for hydrating the under-eye area! You can substitute this step with any hydrating mask you like.
- Epicuren Discovery Aloe Vera Calming Gel: This product has changed my life. I have reactive and sensitive skin that has a mind of its own. From dry patches, hormonal acne, and an oily t-zone, my skin is a jack of all trades. This product is good for helping ALL OF IT.
- Weleda Skin Food: I pretty much love everything from Weleda. This is a particularly thick cream that is best applied by “pressing” it into the skin. Take a pea-sized amount, rub into your fingertips and lightly press it into the skin, starting with areas that need moisture the most and working to the oily areas last. Bonus: slather some more on dry cuticles!
- SPF: Because you better! Try this one from Glossier!
The Makeup
- Glossier Perfecting Skin Tint + Stretch Concealer Duo: I’ve been loving Glossier’s skin tint and concealer for skin “perfecting.” It’s light and leaves the skin looking its best version of itself.
- Glossier Cloud Paint: A great gel-cream blush in a wide variety of shades that is buildable and easy to apply.
- Nars Light Reflecting Loose Setting Powder: This is a great powder for a nice soft matte finish.
The Method
1. Cleanse with warm, not hot, water. I don't even like to wash my face in the shower because shower temperature is typically too hot for delicate face skin. It can really strip your skin of its natural oils.
2. Aloe. It. Up. I love to smear some Epicuren Aloe on a freshly washed face. It is so soothing and really preps the skin to drink in some good moisture from your moisturizer.
3. Moisturize! Using a pressing technique, hit up the dry areas first then use what’s leftover on your hands to get the oily spots. Be sure to give a good amount of moisture to the high points of the face (cheek bones for sure!) as this will really amp up the glow factor.
4. Get that SPF on! From this point on our goal is to keep that just moisturized dew while evening out skin tone.
5. Blush first! I absolutely love this tip! (Shout out to Katie Jane Hughes for this one!) We often blank out our faces with foundation only to add back in the flush we already had. This method allows the blush to glow from underneath your foundation or tinted moisturizer giving it a natural warmth that looks like you were born with it. Apply to the apples of the cheeks, this might look a little crazy, but trust the process!
6. Time for some skin tint. I like to map out where I want the bulk of the coverage with my fingers and then go in with a buffing brush. Buff the foundation into the places you want the most coverage first, avoiding the apples of the cheek. Then, with what’s left on the brush, diffuse the apples of the cheek for a warm glowy effect.
7. Conceal any areas that might need a bit more coverage.
8. Lightly powder any areas that look too “dewy” with a small fluffy brush. I love a translucent powder for this to avoid a cakey finish. Tip: Use the brush to tap the powder into the skin, don’t brush – it can move the makeup around.
9. You can finish here, or add some eyeliner, mascara and a lip for a bolder look!